UK
UK FR
FR DE
DE IT
IT ES
ES
GUITAR SHIELDING USING ADHESIVE COPPER TAPE
Copper tape is an important feature as it allows to avoid electro-magnetic interference (EMI) by creating a Faraday cage in your electronic cavities. It will therefore make sure that you will have a clean sound out of your electric guitar. We will show how to shield one of our telecaster guitars bodies which can be apply similarly to all our guitar kit body. Note that these interferences are in particular strong when you have various electric system around you and in particular for single pick-up guitar.
How It Works
Integrating copper tape within the electronics cavities: pick-ups, switches, pots, etc. will create a faraday cage of the electronics components. Indeed, without the creation of a faraday cage the electronic system of the guitar can create feedback and buzz if other electronic systems are in the surrounding. Creating a copper shield to isolate electronics and wiring of your guitar body helps to cancel feedback from external electronic devices by blocking incoming frequencies. Note that insulating the wire is useful as well to fight against EMI.
What Do You Need
- Copper shielding tape with adhesive (as sold on The Guitar Kit Fabric website)
- A multimeter (which allow you to check if the shield has been installed correctly)
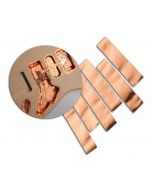
Shielding Example on Telecaster: The Pickguard
The zone of the pickguard which are located at the pickup cavity should be shielding. The other parts which will lay on the body surface don’t need copper. As an additional example, a Stratocaster pickguard - which cover the cavity of pickup and pots – will need to be completely covered of copper. To shield your telecaster pickguard (our Stratocaster) use our copper tape and simply cut different relevant side of the adhesive copper and stick it to the back of the pickguard regardless of the various pickup holes, etc. Make sure each strip is in contact with the previous by overlapping slightly. Once done use your scissor or a cutter to remove the copper from the region which you will have your electronics components integrated.
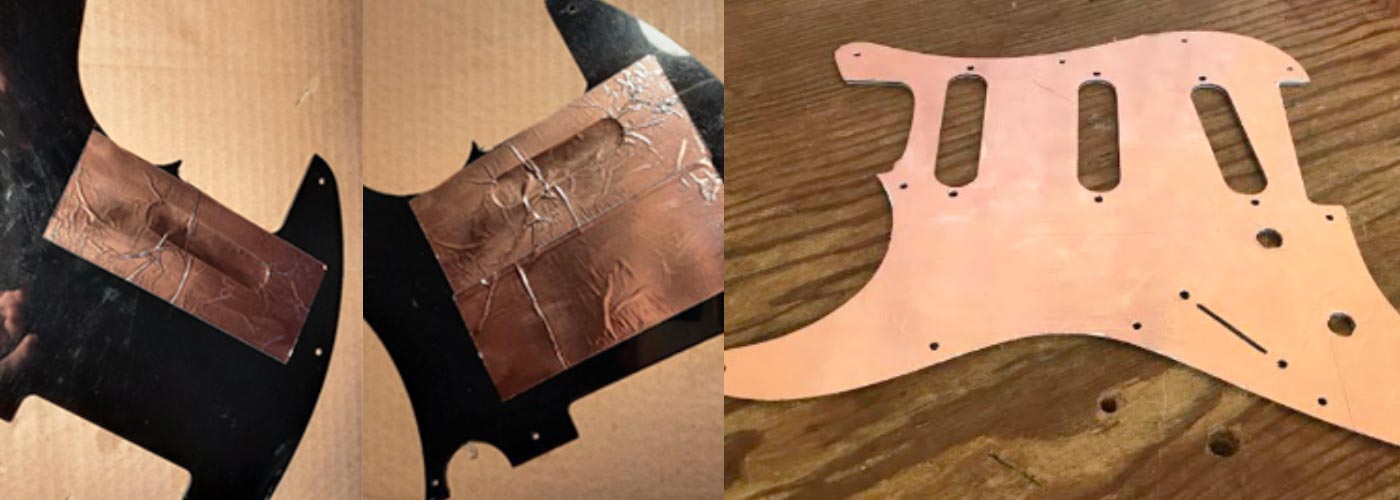
Shielding The Telecaster Body Pickguard
The zone of the pickguard which are located at the pickup cavity should be shielding. The other parts which will lay on the body surface don’t need copper. As an additional example, a Stratocaster pickguard - which cover the cavity of pickup and pots – will need to be completely covered of copper.
To shield your telecaster pickguard (our Stratocaster) use our copper tape and simply cut different relevant side of the adhesive copper and stick it to the back of the pickguard regardless of the various pickup holes, etc. Make sure each strip is in contact with the previous by overlapping slightly. Once done use your scissor or a cutter to remove the copper from the region which you will have your electronics components integrated.
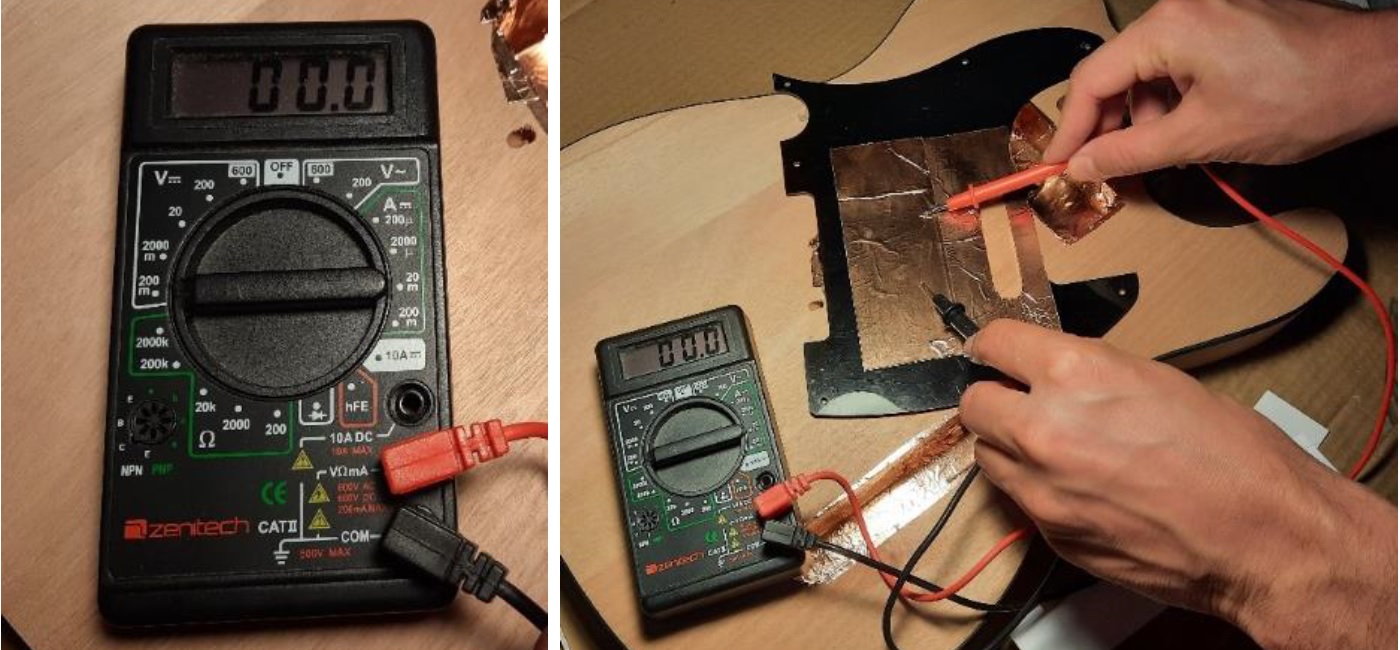
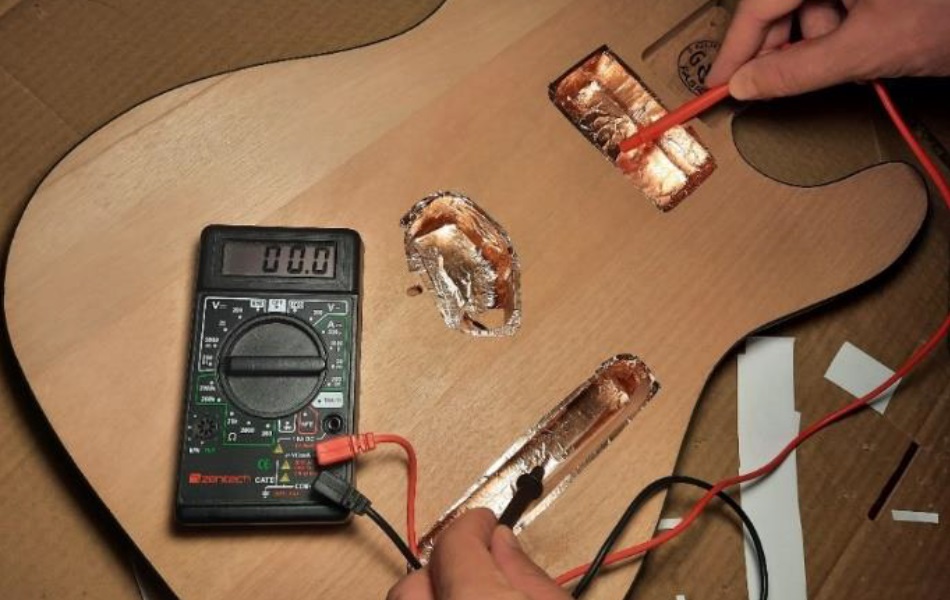
Testing Conductivity
Although this is not absolutely needed, it is a good practice to use a multi-meter to test conductivity and make sure the shield your building is installed correctly. Select volt continuity put a low voltage. Normally you should get 0.00 value to any two given points on the installed copper.
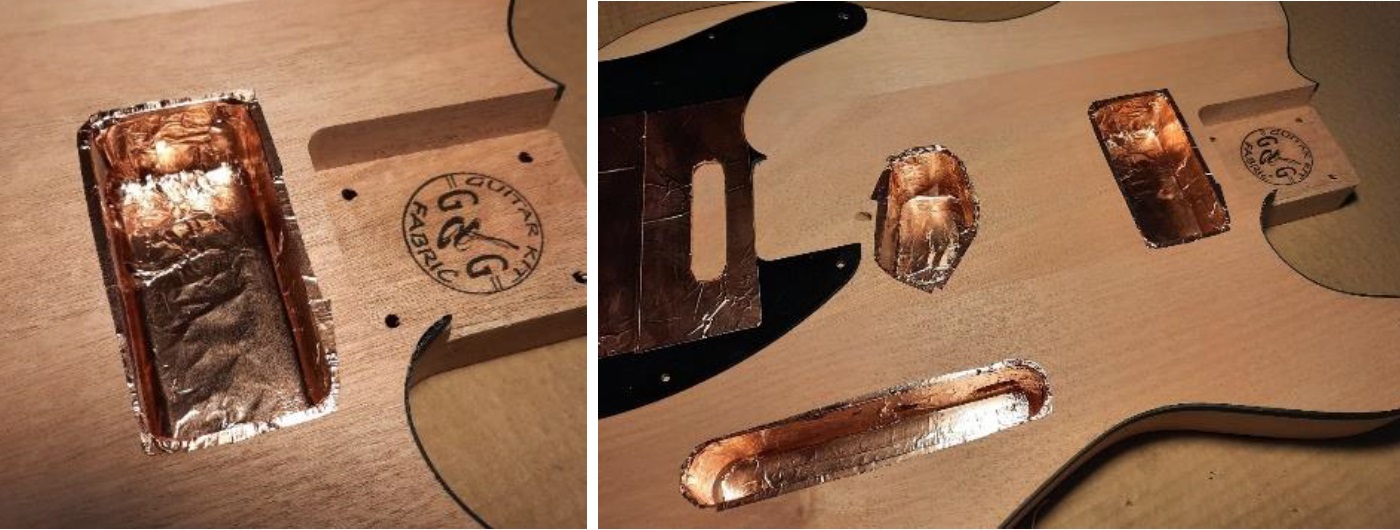
Shielding the cavities of the guitar body
Do the same for the cavity of the guitar body. For our telecaster guitar kit you will have to fill with our adhesive copper tape the neck pick up cavity, bridge / single coils pick up cavity as well as control plate cavity. To fill these cavities don’t hesitate to cut small piece of adhesive copper to make easier the shielding and make sur you cover it all.
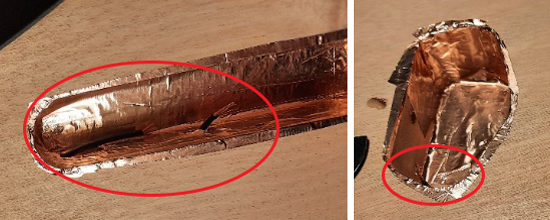
IMPORTANT: Make sur the tape reach the side of the cavities. Indeed, it is very important that the copper tape on the pickguard to be in contact with the copper tape of the neck pick up cavities and therefore creating the Faraday cage. So again, make sure to have the copper tape to go over the edge of your cavities!
Once all done take your multi-meter do again some tests for conductivity. Note that the tape on our website has also the adhesive side fully conductive. This avoids some painful additional work using a soldering iron across the seam of each strip to join them together.
Connecting Cavities Together
Once you have fully covered the 3 cavities make sure there is no holes or gaps apart the holes for the wiring. Then you need to connect these cavities altogether. To do this, take a wire like a tinned copper or just a normal electric wire and pass it through the wiring holes. Then you can solder it or simpler use copper tape to stick it will work perfectly (and our adhesive copper are strong enough. It is still a robust way to do without the need to have a soldering iron). For our telecaster guitar kit there is 3 cavities to wired altogether, so you will need to wire: 1 wire will go from the pickup neck cavity to the control cavity and one wire from the bridge cavity to the control cavity.

Again, used your multi-meter to make sure that all cavities are well connected together. Test from a range of different points within the cavity. If all get a value of 0.00 then your good!
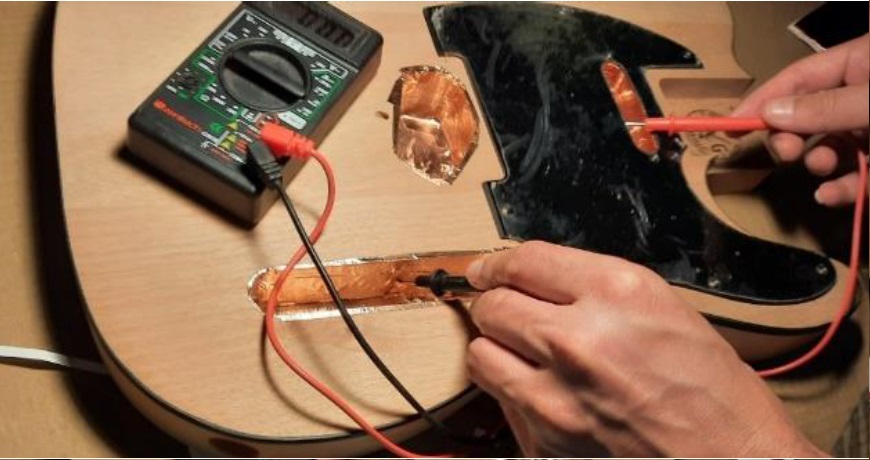
Faraday Cage Ready
Normally your faraday cage should be ready. One additional test is to put your pickguard and make sure the back of your pickguard is well connected to the rest of the cavities. You can do like this.
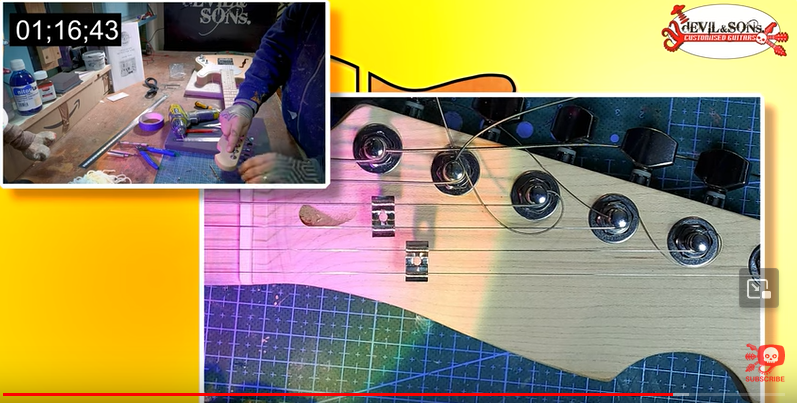
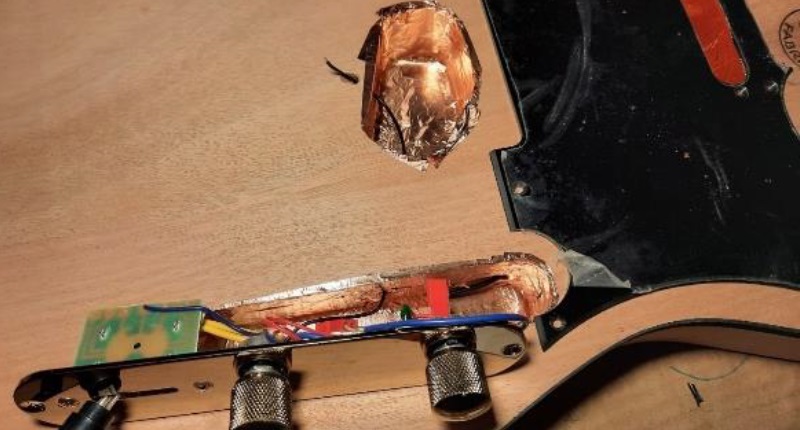
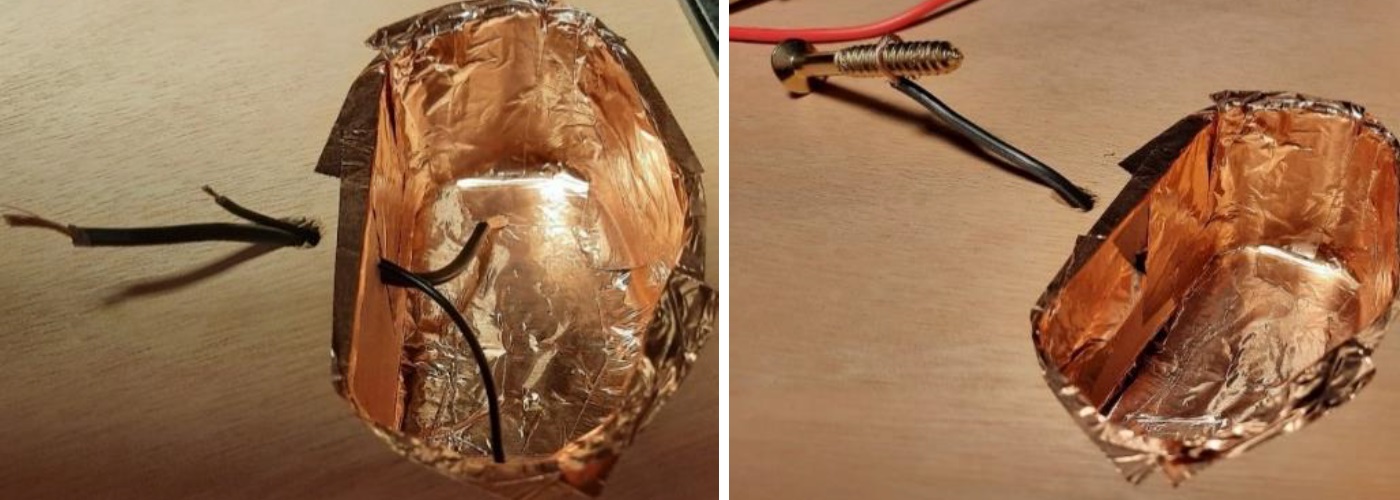
Final Grounding
Your Faraday cage although finalized need to be grounded! To ground your faraday cage, you can connect an additional wire from a cavity to a screw of the bridge the same way the electronics is grounded (you will have this information on your guitar kit user guide). For instance the picture below show how the grounding wire go from the control plate to the bridge location. Similarly, have a wire going from the bridge cavity and connect it to one of the screw of the bridge (you can also choose to ground it in other place like on top of a pot). So at then end you will have the electronics as well as the faraday cage grounded to one of the bridge screw. Note that if the screw has a black or gold film you should scratch it to remove it so that the wire will be directly in contact with the metal of the screw.
Once this is done, test for continuity between the copper shielding and the ground location (in our case the screw). If you get a 0.00 value, you have successfully created a fully grounded Faraday cage for the body of your guitar kit.
That’s it! We have explained here how to shield a guitar using one of our telecaster guitar kit as an example. Note that Radio Frequencies and electro-magnetic interference (RF / EMI) cannot be fully suppress. Still shielding electronic parts with copper tape will have a huge positive impact on guitar buzz and feedback while playing.